
Step 1 –Upload scanned image and signature
The scanned image of your photographs and signature is what you require for this step. Follow the OCI digital photo signature thumprint specifications
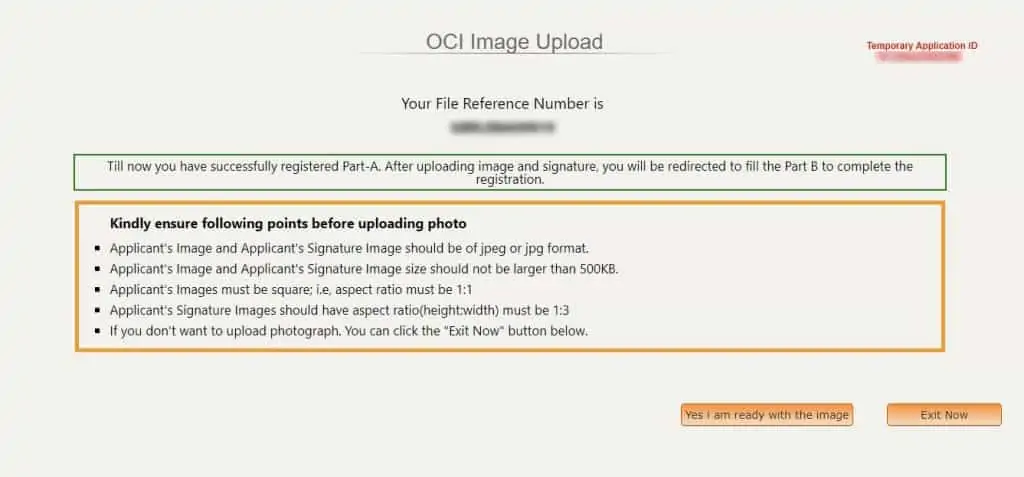
Step 2 – Once you have uploaded the image and signature, the next step will be to fill the Part B of the application.
Step 3 – When ready please click on ready with the image
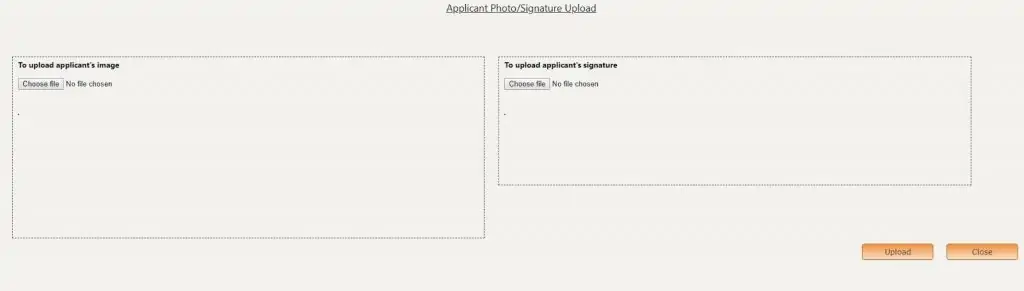
Step 4 – Next, upload the applicant’s image and signature.
Step 5 – Once you’ve uploaded the images, the website will verify and confirm if the uploaded images meet the guidelines.
Step 6 – Once that is done, you are required to proceed and click “Upload” button.
Step 7 – You will then see your uploaded image and signature below the image.
Step 8 – If any issues are noticed, clicked on “I want to upload again” to go back and upload the image again. Edit again if required.
Step 9 – Once you have checked and verified please click on “I have uploaded successfully.”
Step 10 – Confirmation will flash on the next screen, and you then need to click “Proceed to Part-B” to continue the OCI application form.
Part-A of the OCI form is now complete.